OAuth (Recommended)
OAuth authentication is only supported with the hosted MCP server (
https://mcp.affinity.co/mcp). If you are running a self-hosted MCP server, use API key authentication instead.Authorizing Access
When you connect a supported client for the first time, you’ll be redirected to Affinity to authorize access. The OAuth consent screen shows the permissions being requested: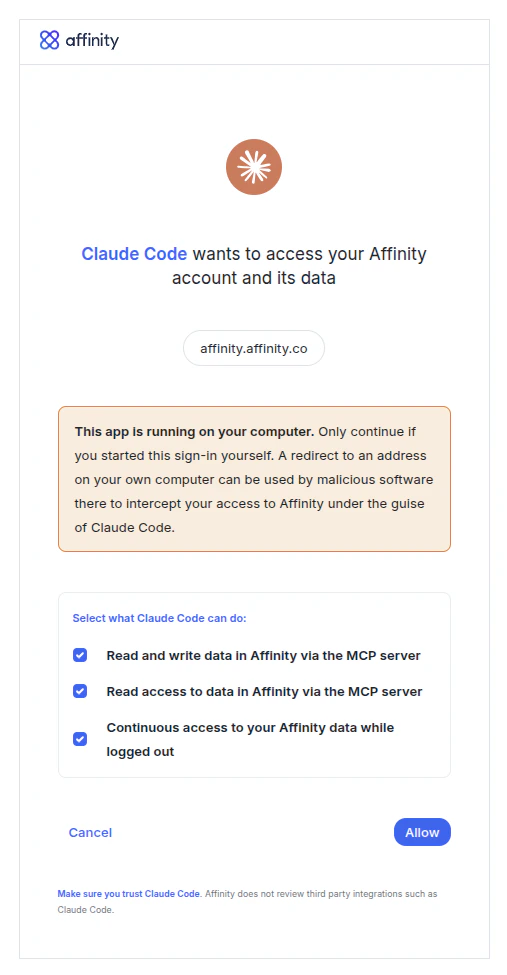
Managing OAuth Clients
Any admin can view and disable OAuth access for each client by navigating to Settings → Affinity MCP. These settings apply organization-wide for all users. On Enterprise plans, admins can scope this capability to specific roles via Settings → Users and Permissions → Roles → Manage MCP Agents.
API Key
For clients that don’t support OAuth, or if you prefer to authenticate with a key directly, generate an Affinity API key and pass it as a Bearer token in your client configuration.Obtaining Your API Key
- Log in to your Affinity account
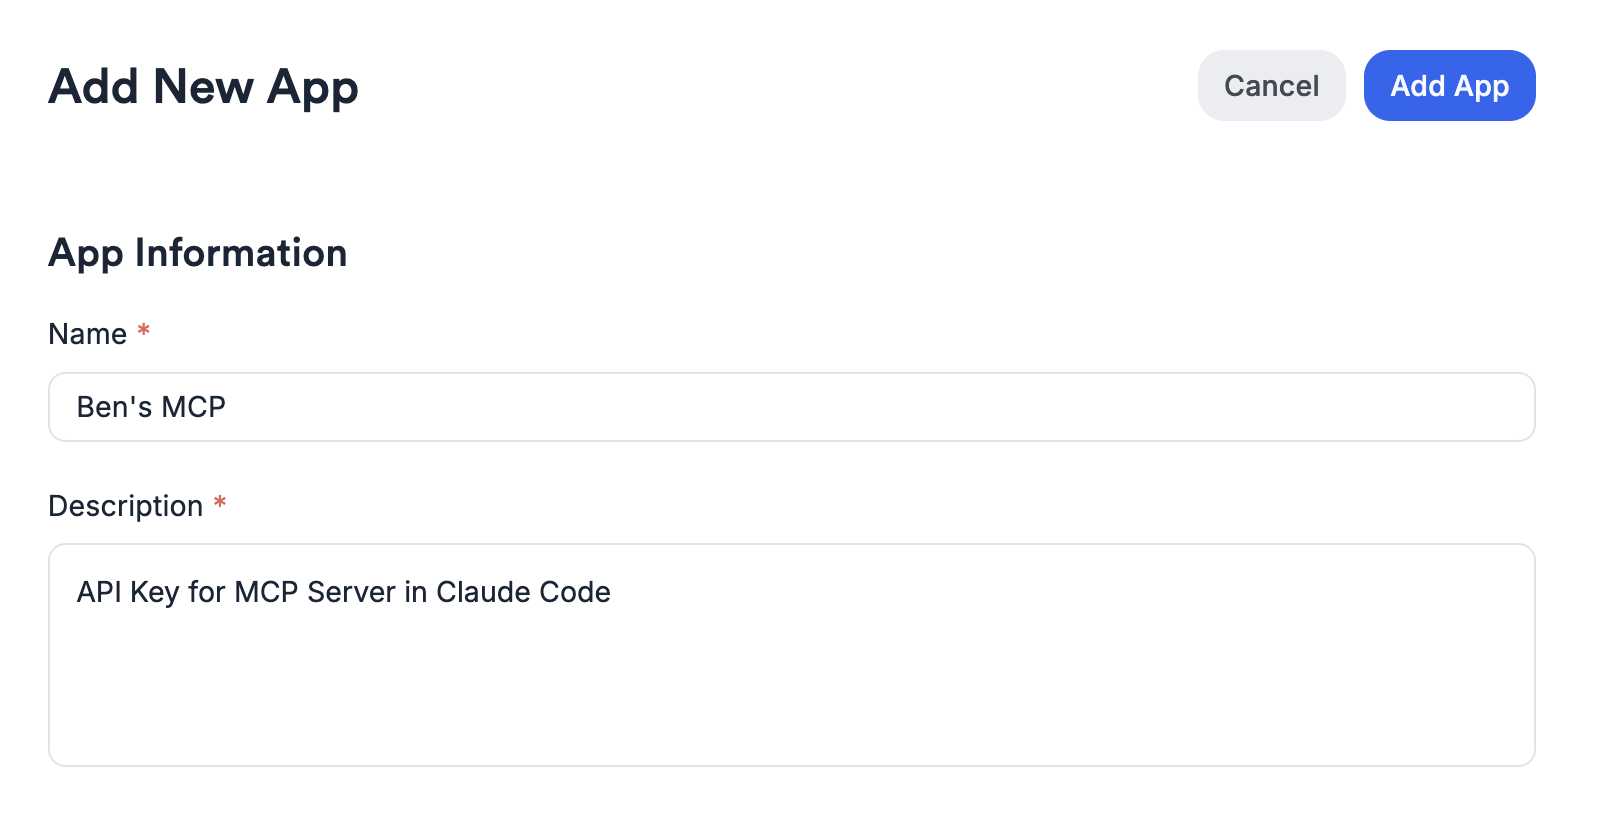
- Navigate to Settings → Manage Apps
- Click New App and enter a name (e.g. John’s MCP) and a description (e.g. API key for my MCP server connected to Claude). API version and IP Allowlist can be left blank.
- Copy the generated API key