Prerequisites
Before you begin, make sure you have:- Admin access in your Affinity organization (required to manage integrations)
- A Snowflake or Databricks account
- Your platform account identifier (covered in the steps below)
- Snowflake
- Databricks (Beta)
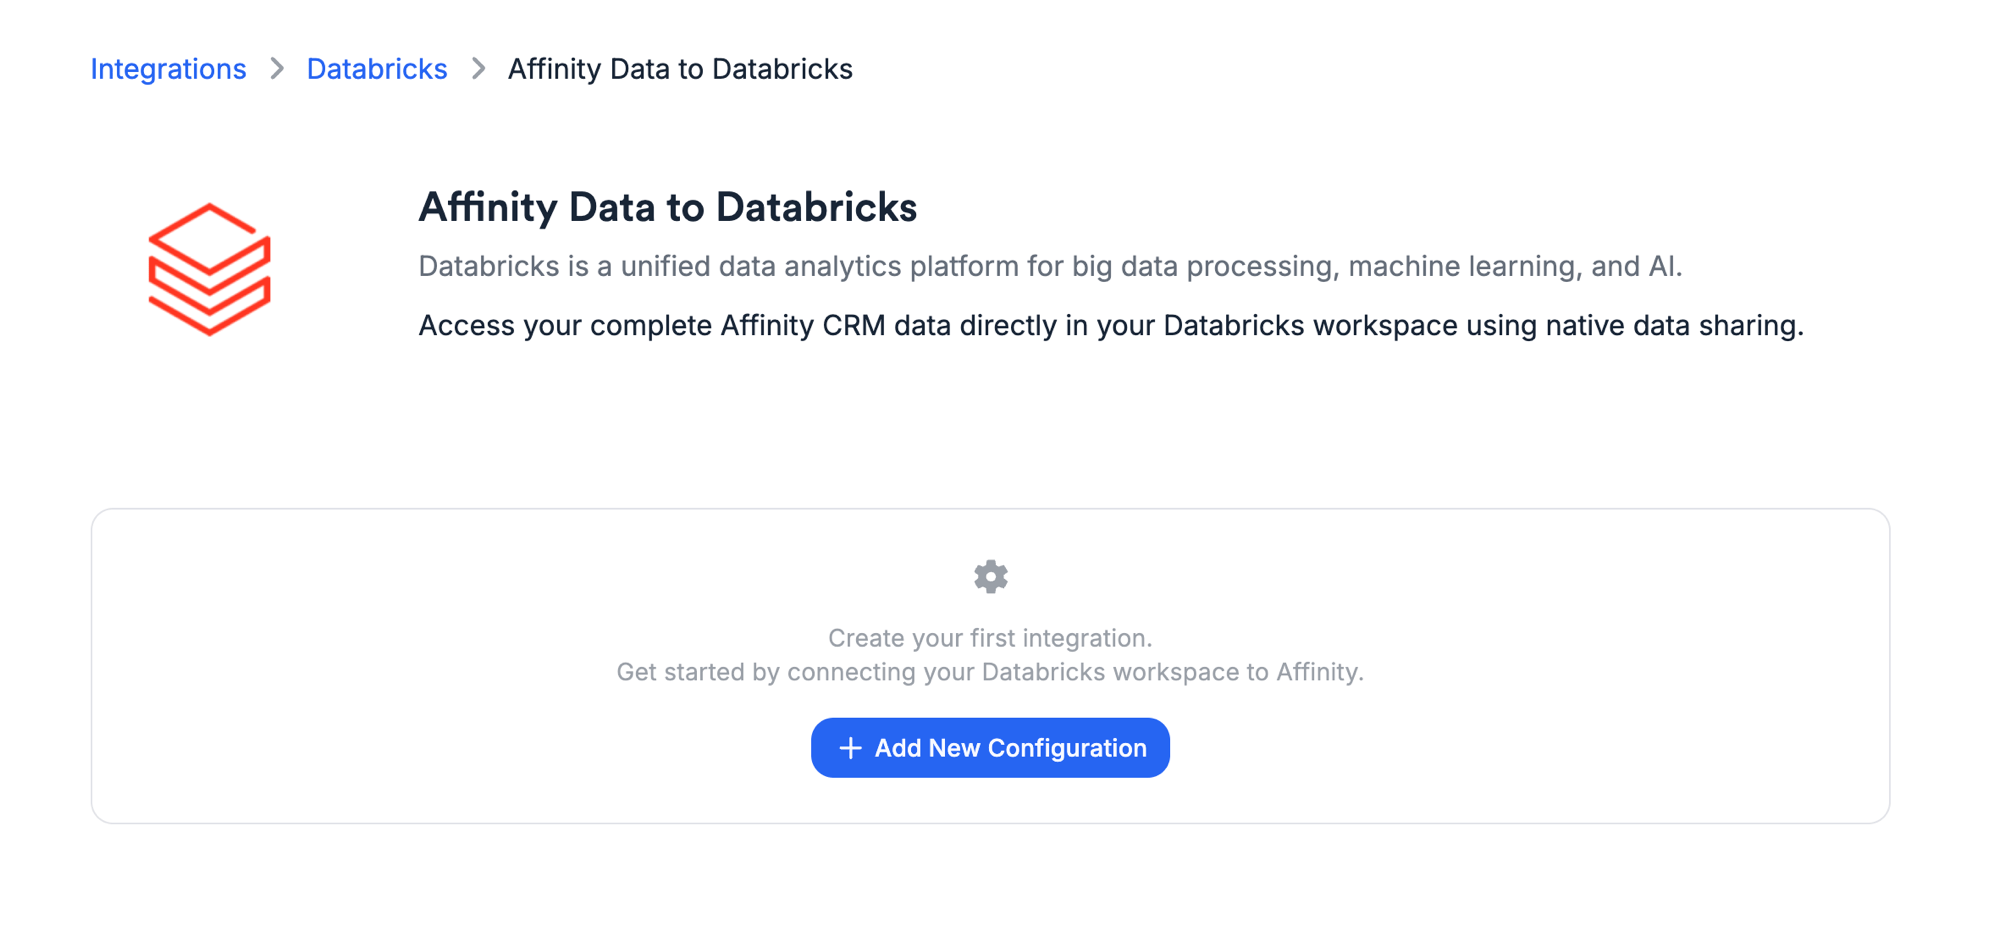
Connect Your Snowflake Account
Open the Snowflake integration
In Affinity, go to Settings → Integrations → Snowflake → Affinity Data to Snowflake.Click Add New Configuration.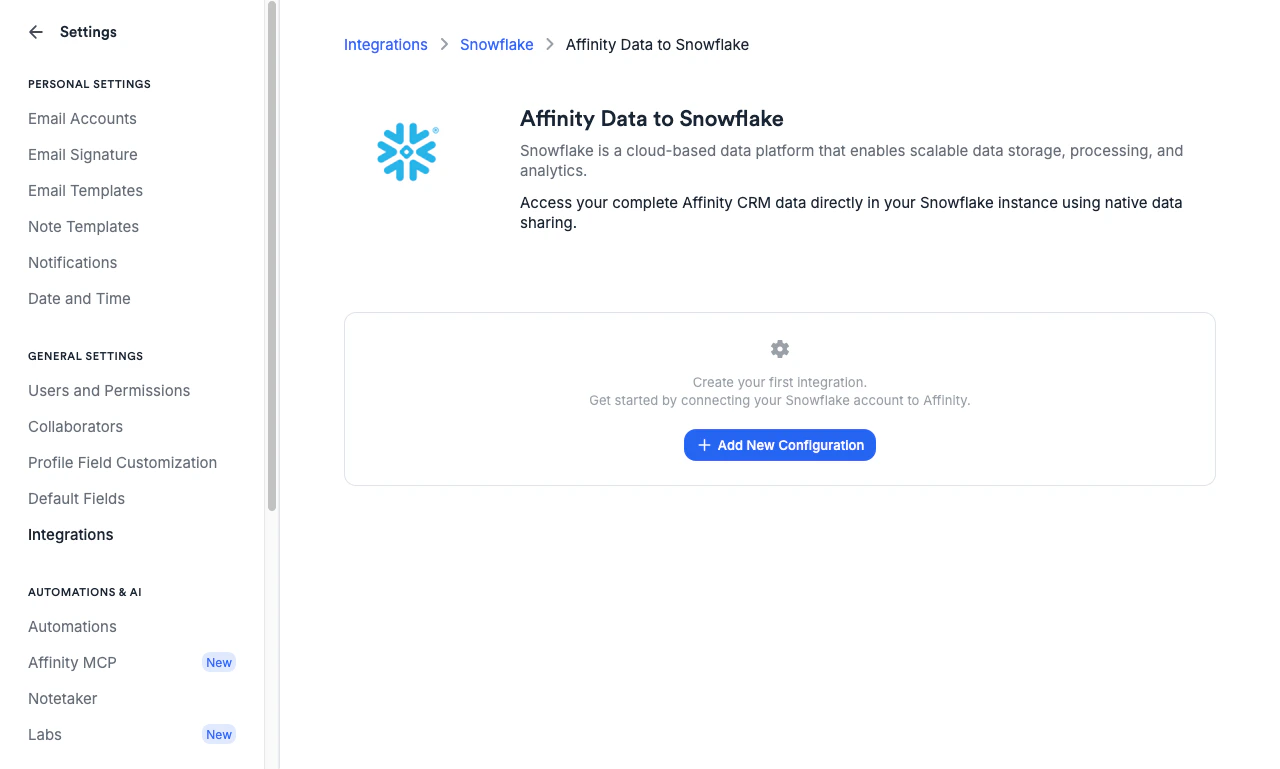
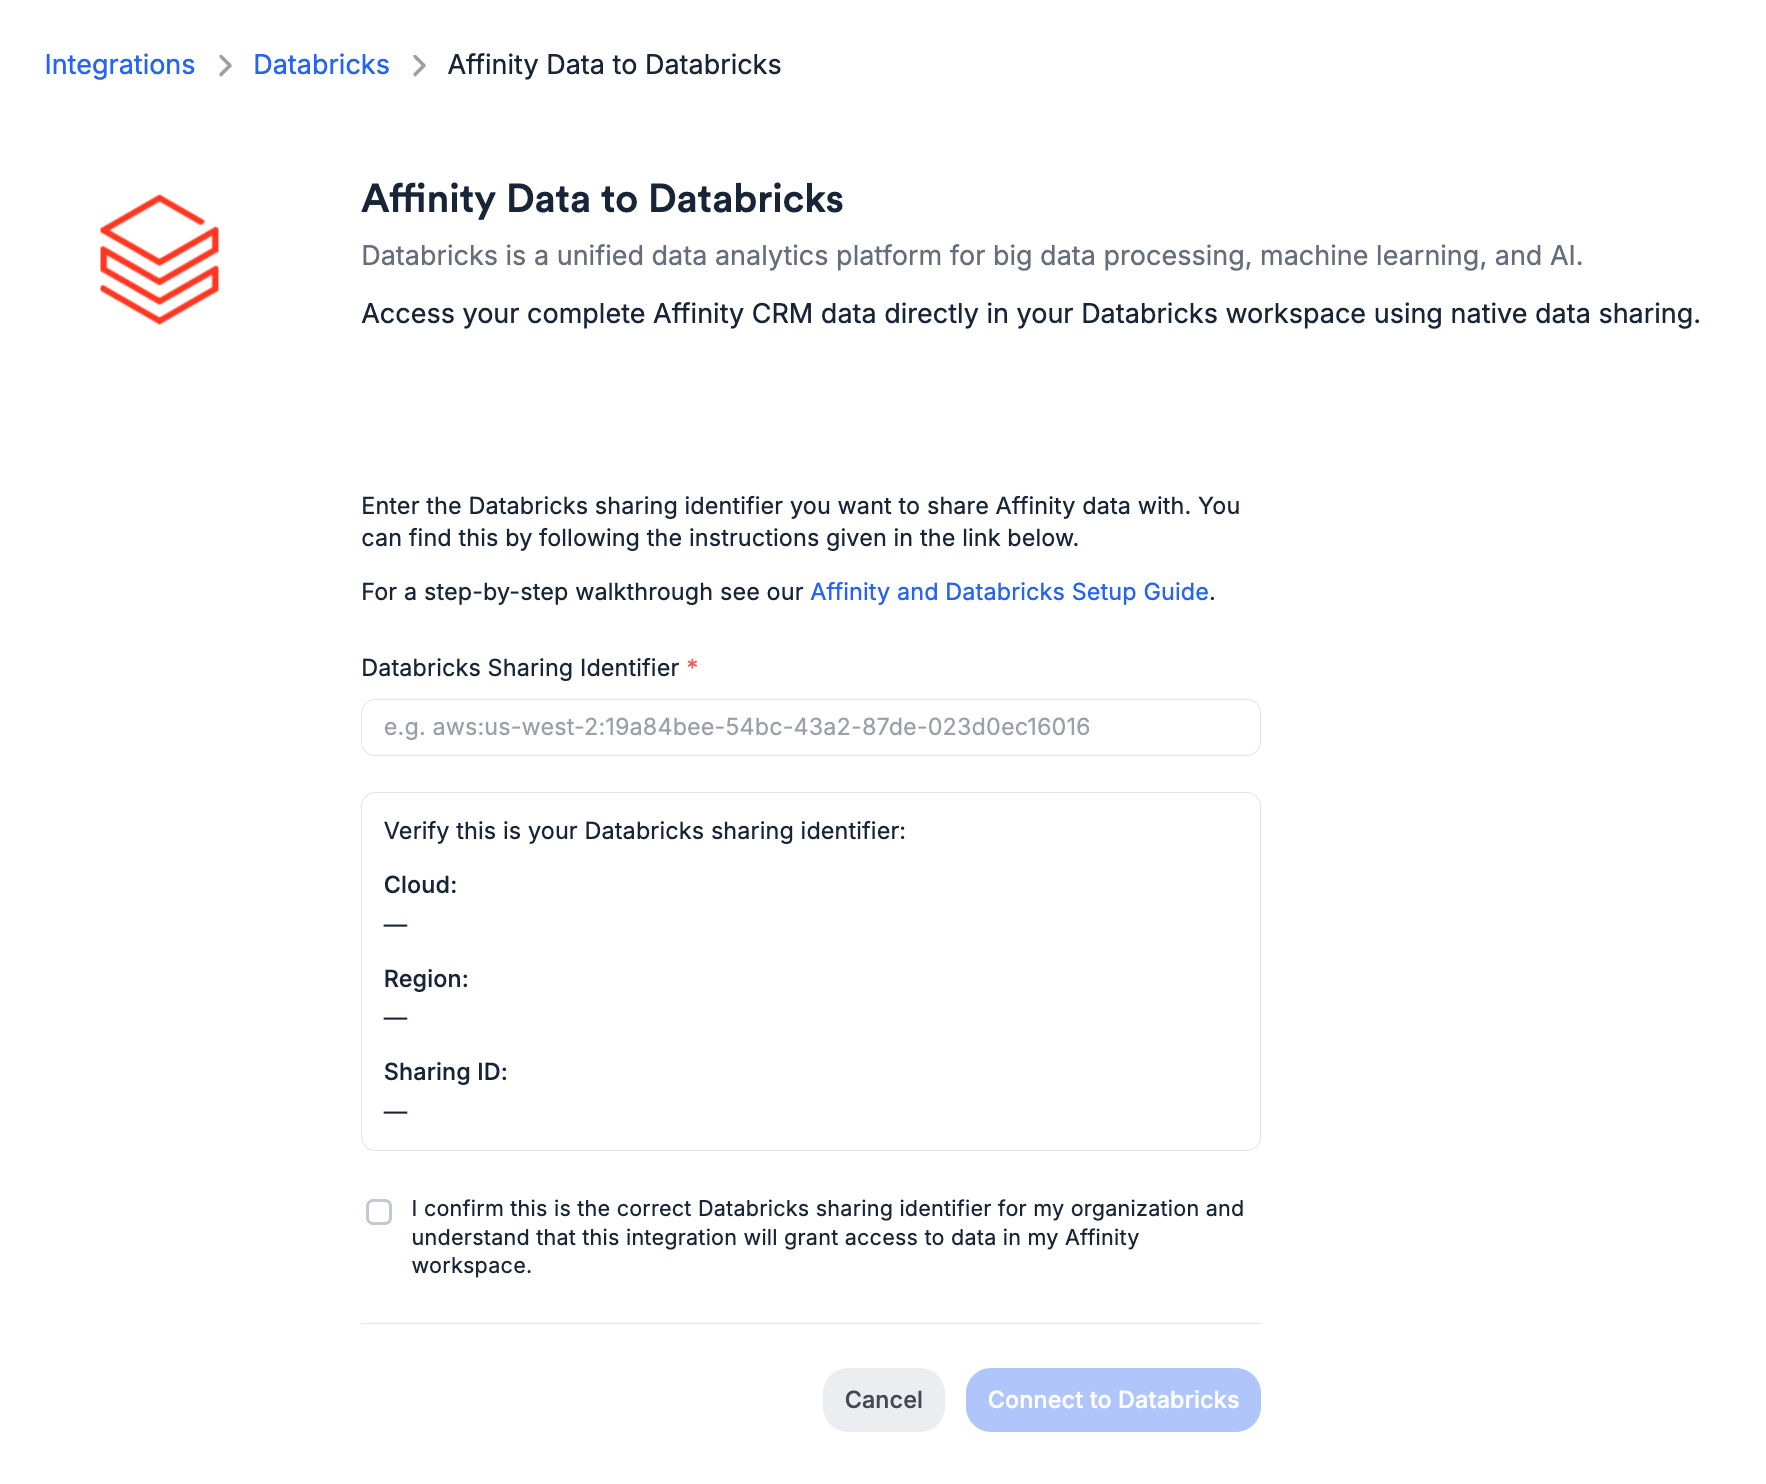
Find your Snowflake Account Identifier
In Snowflake, locate your account identifier by:
- Clicking your user profile at the bottom-left of the Snowflake UI
- Selecting Account → View account details
- Copying the data sharing account identifier
ORG_NAME.ACCOUNT_NAME.Enter and verify your identifier
Paste your account identifier into the Snowflake Account Identifier field.The form will automatically parse it and display your Organization Name and Account Name
in the verification panel. Confirm these match your Snowflake instance before continuing.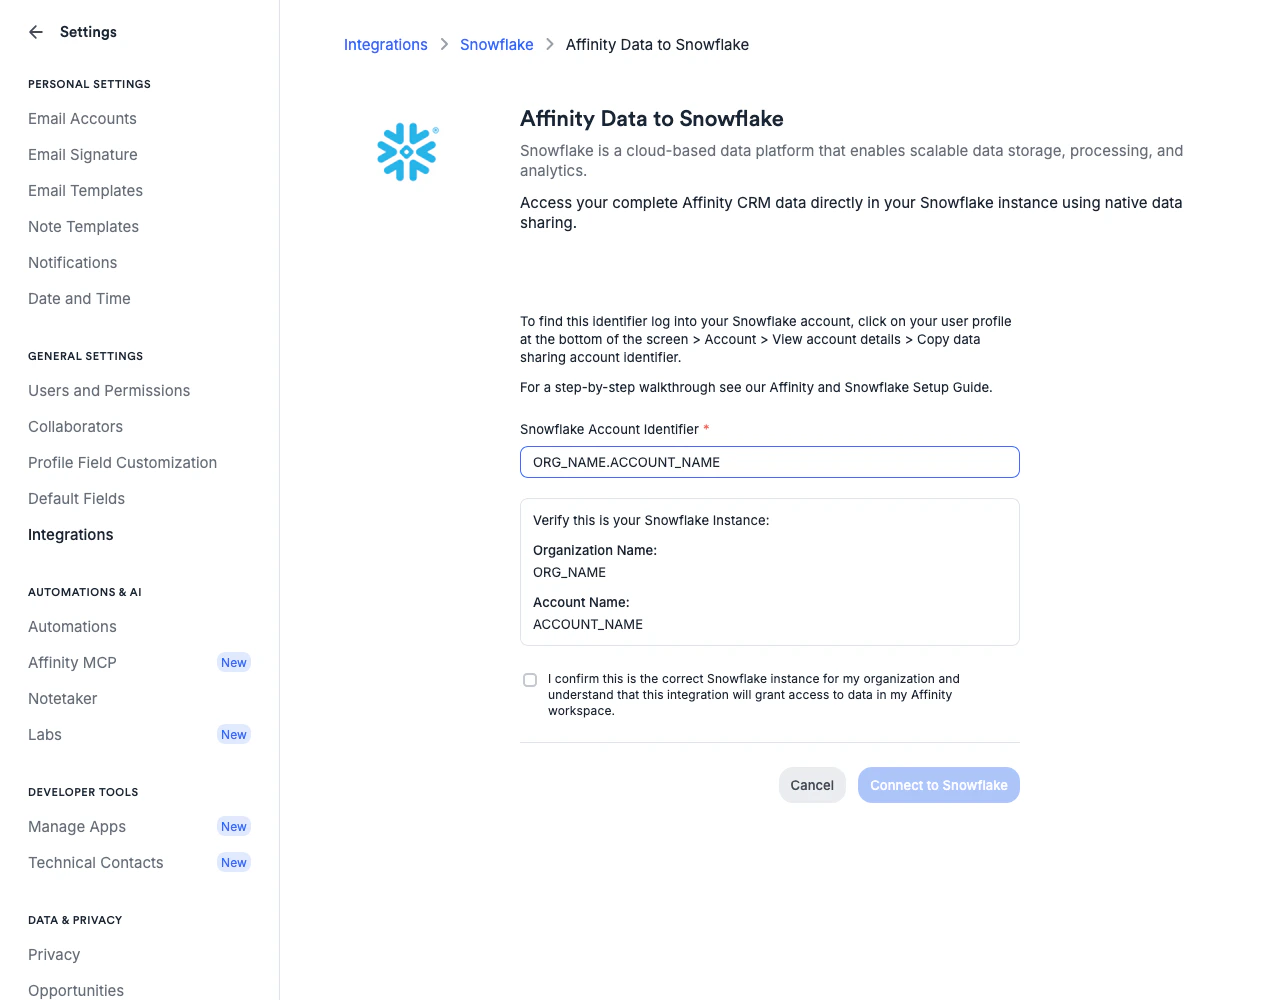
What Happens Next
Once connected, Affinity will initiate the data share to your Snowflake account. This process typically completes within a few minutes. Account admins on your Snowflake account will receive an email notifying them that a private listing has been shared. You can also access listings directly in your Snowflake account — see Snowflake’s consumer listing access documentation for details.See Data Access for important information about visibility
and access controls within the share.